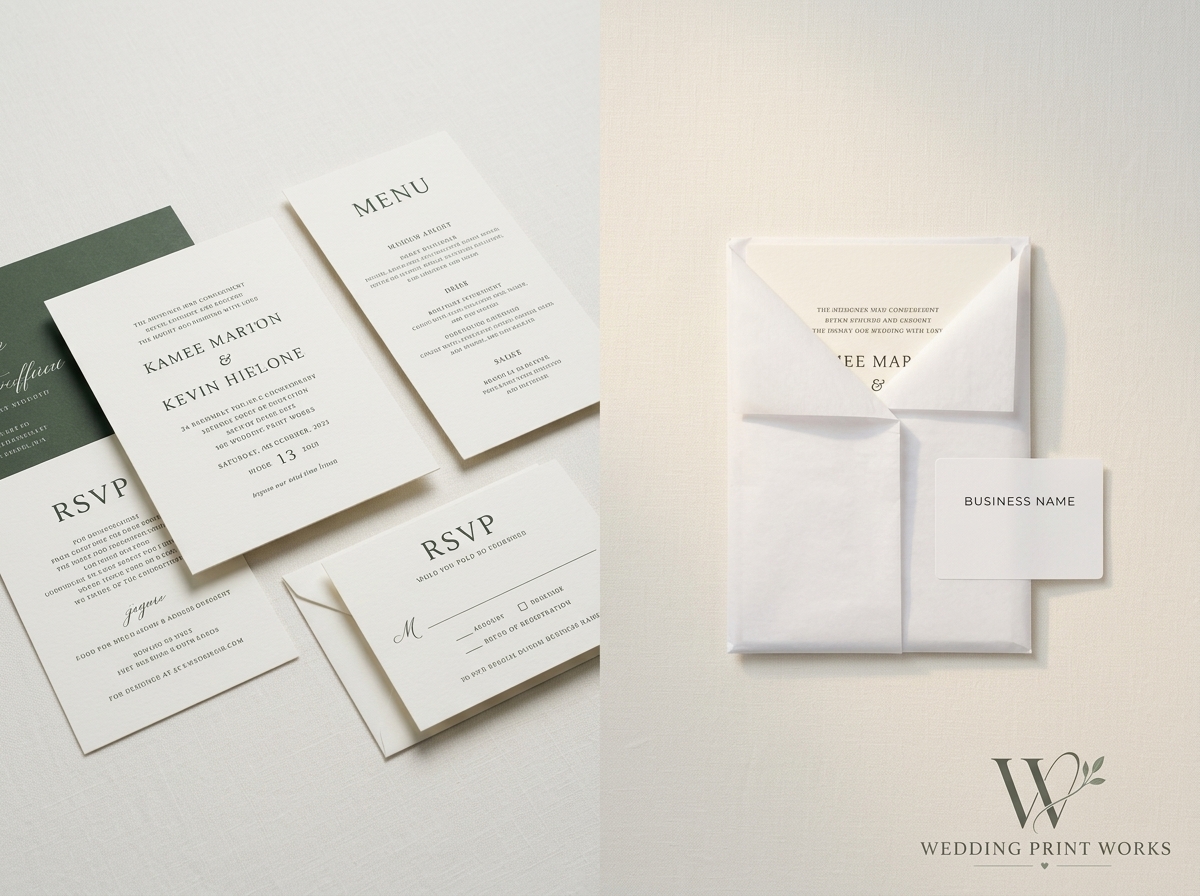
Tag: premium papers and boards

  • White‑Label Wedding Stationery Printing: How It Works and Why It Matters for Designers

    White‑Label Wedding Stationery Printing: How It Works and Why It Matters for Designers

    White-label wedding stationery printing allows you to outsource physical production while keeping your own brand and client relationships. You supply the designs and specifications; a print partner produces the finished items for you to sell under your business name.

    For designers and small stationery businesses, this can make it easier to offer coordinated collections without buying production equipment or taking every job through your own workspace. The key is choosing a partner whose process, materials and communication suit the way you work.

    What does white-label wedding stationery printing mean?

    In a white-label arrangement, a third-party printer makes products that are sold under your brand rather than the printer’s. Depending on the agreement, the printer may produce the stationery for you to check, pack and send, or the products may be prepared for another agreed fulfilment arrangement.

    White-label does not automatically settle every detail. Before placing work, clarify whether the printer’s name will appear on the products, packaging, paperwork or delivery information, and who will handle packing, dispatch and any client queries.

    Why use a trade print partner?

    Outsourcing production can free up time for design, marketing and customer service. It may also let you offer products or quantities that would be difficult to produce in-house, without investing in specialist equipment or managing every production step yourself.

    A production partner can help turn approved artwork into printed and finished stationery. Your role remains central: you shape the collection, advise your client, approve the proof and manage the customer relationship. The printer’s role is to manufacture to the agreed specification.

    When comparing suppliers, look beyond the word “white-label”. Ask how they handle artwork, proofs, paper choices, finishing, quality checks, reprints and delivery. Clear answers help you set realistic expectations with your own customers.

    How white-label printing works
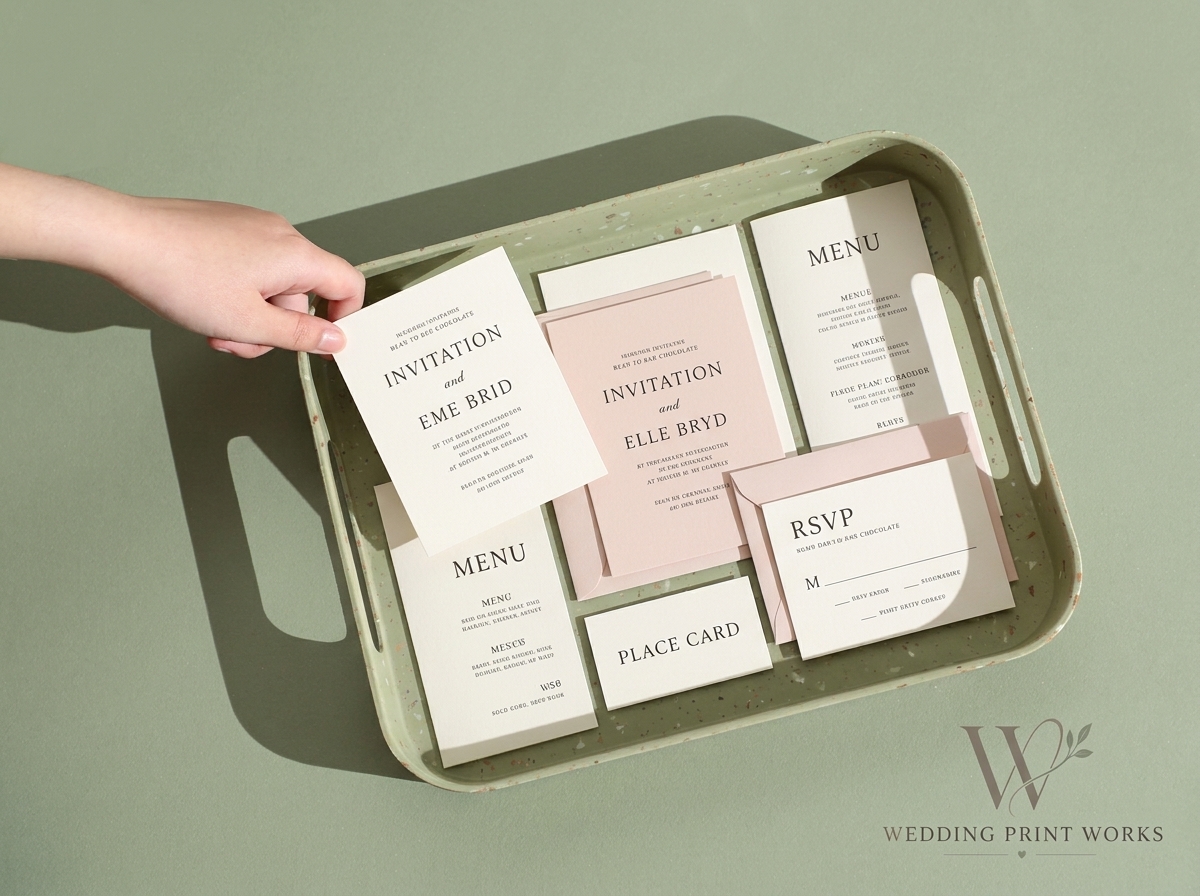
    Wedding stationery being prepared for print production

    1. Agree the specification

    Start by confirming the finished size and shape, paper or board, print requirements, quantity and any finishing details. Include how the pieces relate to one another if you are ordering a suite. A clear specification reduces avoidable queries and gives both you and your supplier a shared reference point.

    2. Prepare and approve artwork

    Supply files in the format and layout requested by the printer. Check spelling, names, dates, alignment and any details that matter to the design before approval. Ask how proofs are supplied and what they show: a digital proof can help check layout and content, but it may not represent the exact colour or feel of the final stock.

    3. Production and quality checks

    Once the artwork and specification are approved, the printer produces the order and checks it against the agreed requirements. Ask what checks are included and how any issue is handled. Colour and appearance can be affected by the artwork, printing process and chosen stock, so discuss expectations before production rather than relying on an on-screen preview alone.

    4. Packing and delivery

    Agree in advance where the finished stationery will be sent and how it will be presented. If you want a fully white-label experience, confirm whether supplier branding is excluded from the products and any accompanying packaging or paperwork.

    Building a coordinated stationery range

    Coordinated wedding stationery pieces arranged as a collection

    A production partner can help you develop a broader offer around a design. Depending on the products and specifications available, a collection might include save-the-dates, invitations, information cards, menus, place cards, table stationery and other printed wedding items.

    Choose materials to suit the design

    Paper and board affect the look, weight and feel of a finished piece. When selecting stock, consider how it supports the artwork, how it will be used and whether it needs to work across several items in the suite. Ask your printer which options are available and whether the chosen stock is suitable for the size, shape and production method.

    Consider shapes and finishing early

    Distinctive shapes, such as arches, waves and scallops, can help a collection feel individual. They also affect artwork preparation and production, so discuss the shape and finished dimensions with your printer before finalising the design. If you are considering specialist finishing, check what is available, how it affects the specification and whether it can be applied consistently across the pieces in your order.

    Keeping your brand and customer relationships

    In a white-label arrangement, you remain the designer and the customer-facing business. Your client buys from you, and you decide how the collection is presented and priced. The production partner works behind the scenes according to the agreed process.

    It is worth confirming practical details in writing: who communicates about artwork queries, who approves proofs, how changes are handled and who contacts the client if a delivery issue arises. A dependable workflow is as important to your brand as the finished print.

    Frequently asked questions

    What is white-label wedding stationery printing?

    It is a production arrangement in which a printer manufactures stationery designed or supplied by your business for you to sell under your own brand. The exact arrangements for branding, packing and delivery should be agreed with the supplier.

    Will my clients know who printed the stationery?

    That depends on the arrangement. Confirm whether the printer’s branding will appear on the stationery, packaging, paperwork or delivery information. White-label production should be discussed in practical terms rather than assumed to cover every part of fulfilment.

    Can I offer a full range of wedding stationery?

    A trade print partner may help you extend your range across items such as invitations, information cards, menus and place cards. Check the available products, materials, sizes, shapes and finishes before promising a particular option to a client.

    How can I check the quality before offering a product?

    Ask about the proofing process and request samples where available. A proof can help you check content and layout, while a physical sample gives a better sense of the stock and finish. Confirm how the printer handles production checks and any problems with an order.

    Wedding Print Works supports designers with trade wedding stationery printing, helping businesses keep their focus on design and customers while their stationery is produced to an agreed specification. Explore the options for designers.
  • What Is Bleed and Why Does Wedding Stationery Need It?

    What Is Bleed and Why Does Wedding Stationery Need It?

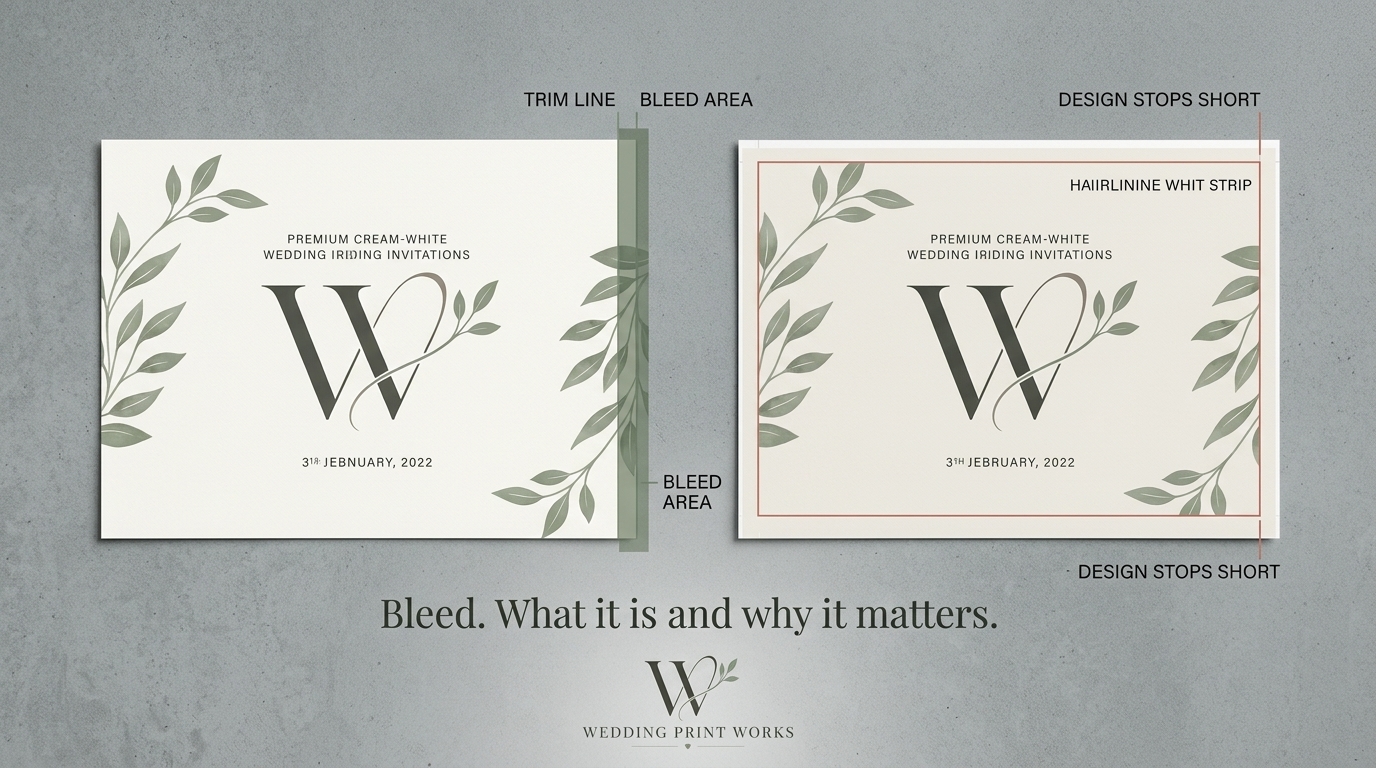
    A wedding invitation can look immaculate on screen but show a thin white edge after trimming. This often happens when colour or imagery stops exactly at the finished edge instead of extending beyond it. That extra artwork is called bleed.

    For stationery designers, getting bleed right is a straightforward way to reduce avoidable production issues. It matters on standard rectangular cards and needs particular attention on shaped designs, where the cut follows a curve or contour. Always check the printer’s artwork specifications before preparing a file: bleed requirements and file preferences can vary.

    What is bleed in printing?

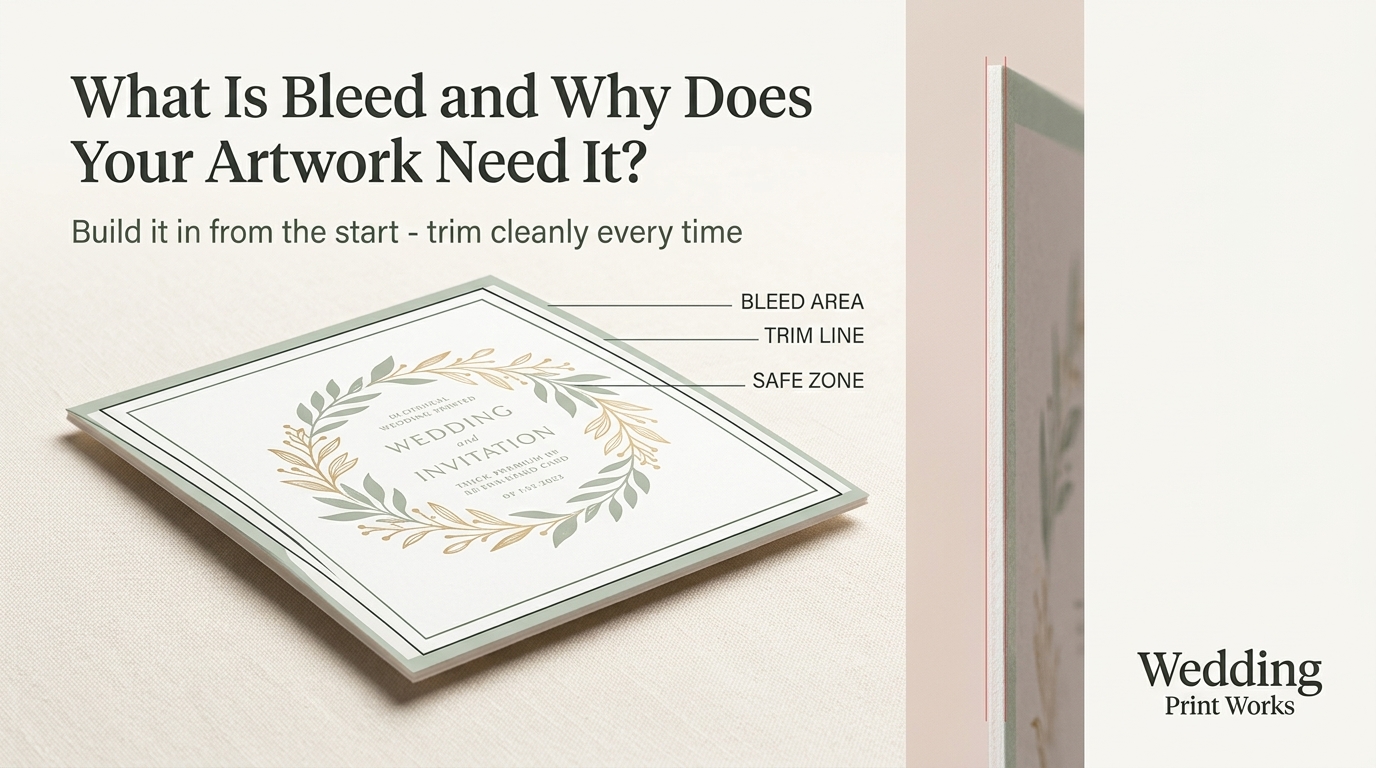
    Bleed is the part of the artwork that extends beyond the intended trim line. During production, the sheet is cut to the finished size and the bleed is removed. Because cutting can involve small variations in position, extending the artwork past the edge helps prevent the unprinted paper showing at the finished edge.

    A bleed of 3 mm is commonly requested, but it is not a universal rule. Use the amount specified by your print partner, including for any shaped or die-cut work.

    Bleed, trim line and safe area

    Trim line

    The trim line marks the intended edge of the finished piece. It is a guide for production, not an area where important details should sit precisely: slight movement during cutting can affect the final position of the edge.

    Bleed area

    The bleed area sits outside the trim line. Extend any background colour, photograph, pattern or other edge-to-edge artwork into this area. The bleed is cut away, so it should not contain details that need to appear on the finished card.

    Safe area

    The safe area is inside the trim line. Keep names, dates, wording, logos and other important details comfortably within it. The appropriate margin depends on the design and the printer’s guidance; a border placed very close to the edge can also look uneven if the cut shifts slightly.

    What Is Bleed and Why Does Wedding Stationery Need It?

    When does wedding stationery need bleed?

    Bleed is needed wherever artwork is intended to reach the finished edge. For example, if a coloured background, illustration or photograph runs to the edge of an invitation, it should extend beyond the trim line.

    If the design has an unprinted border and the paper itself forms the edge, bleed may not be needed for that area. However, follow the printer’s file requirements and consider whether the border will still look balanced if the cut varies slightly.

    Setting up artwork for print

    1. Confirm the finished size and bleed requirement. Check the printer’s specifications before setting up the document. Do not assume the same amount applies to every product or shape.
    2. Extend edge-to-edge artwork. Continue backgrounds and other elements that should reach the edge beyond the trim line, through the full bleed area.
    3. Keep essential details inside the safe area. Allow room between the trim line and any text or important design elements.
    4. Export and check the file. Make sure the exported PDF includes the required bleed and is set to the correct finished size. Follow instructions about crop marks rather than adding them by default.
    5. Review the whole design at actual size. Check that no important details are too close to the edge and that backgrounds reach the edge of the bleed area.

    Using InDesign, Illustrator or Canva

    In Adobe InDesign, you can enter bleed values in the document setup and include the bleed when exporting a PDF. In Illustrator, set the document bleed and make sure it is included in the PDF export settings. In Canva, use the available bleed option when downloading a print PDF, then check the exported file against your printer’s requirements. Software settings do not replace a final check of the supplied artwork.

    Bleed for shaped and die-cut stationery

    Arches, waves, scallops and other shaped cards have a cut line that follows the outline of the design rather than a simple rectangle. Artwork intended to run to the edge needs to extend beyond that contour, following the printer’s supplied template or instructions.

    Keep wording and other important details well inside the cut line. On scalloped or curved edges, details placed close to the outline can appear uneven or may be affected by small variations in cutting. Check that the bleed is continuous around the entire shape, including curves and corners.

    What Is Bleed and Why Does Wedding Stationery Need It?

    Common bleed mistakes to avoid

    • Stopping artwork at the trim line. This can leave unprinted paper visible if the cut falls slightly outside the intended edge.
    • Adding bleed without extending the artwork. A larger page or bleed setting alone does not create extra artwork; the background or image must continue into that area.
    • Putting text too close to the edge. Bleed protects the edge-to-edge artwork, while the safe area protects important content.
    • Using a rectangular bleed for a shaped design. For shaped work, the artwork needs to extend beyond the actual cut contour.
    • Assuming every printer uses the same settings. Confirm bleed, document size, file format and crop-mark requirements with your production partner.

    Frequently asked questions

    How much bleed should I add to wedding stationery?

    Use the amount specified by the printer. A 3 mm bleed is common, but requirements can differ, particularly for shaped or die-cut products.

    Does a white-background design need bleed?

    If the paper is white and no printed element reaches the edge, bleed may not be necessary for the design itself. Check the printer’s file requirements, and take care with borders close to the trim line.

    Does bleed stop text being cut off?

    No. Bleed gives edge-to-edge artwork extra room beyond the trim line. Keeping text and essential details inside the safe area helps protect them from being trimmed.

    Should I add crop marks to my PDF?

    Only if the printer asks for them. Some production workflows use the PDF’s page and bleed information without customer-supplied crop marks, so follow the supplied file instructions.

    For designers arranging trade wedding stationery printing, a clear artwork template and file specification can make repeat production easier across invitations, information cards and coordinated pieces. Wedding Print Works provides production support for stationery businesses while they retain their own designs, brand and customer relationships.

  • RGB vs CMYK: A Canva Designer’s Guide to Print-Ready Colour

    RGB vs CMYK: A Canva Designer’s Guide to Print-Ready Colour

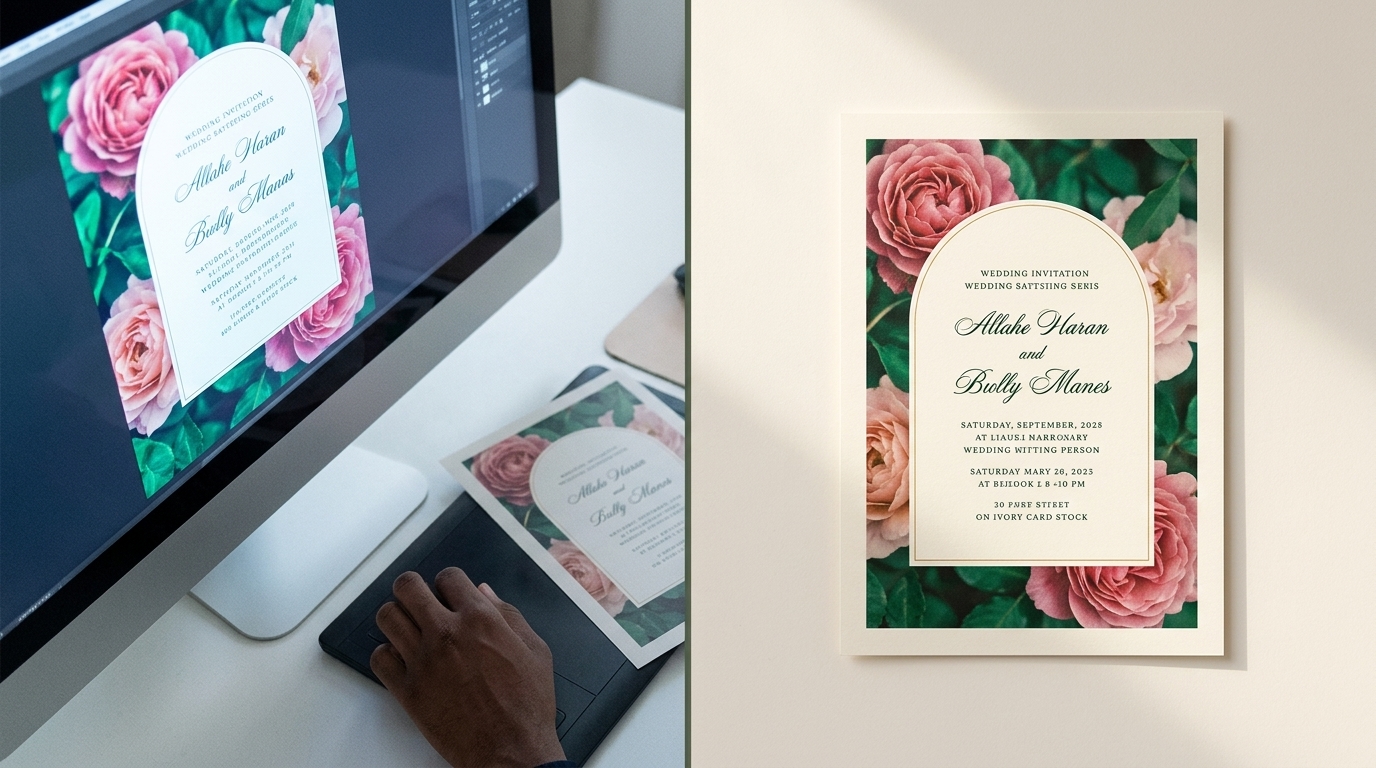
    A wedding invitation can look beautifully vivid on a Canva screen and print with softer, less saturated colours. That difference is often down to the way screens and print reproduce colour, but the file, paper and production process also matter. A few checks before you supply artwork can help you avoid surprises and make reprints more consistent.

    RGB and CMYK: what changes in print?

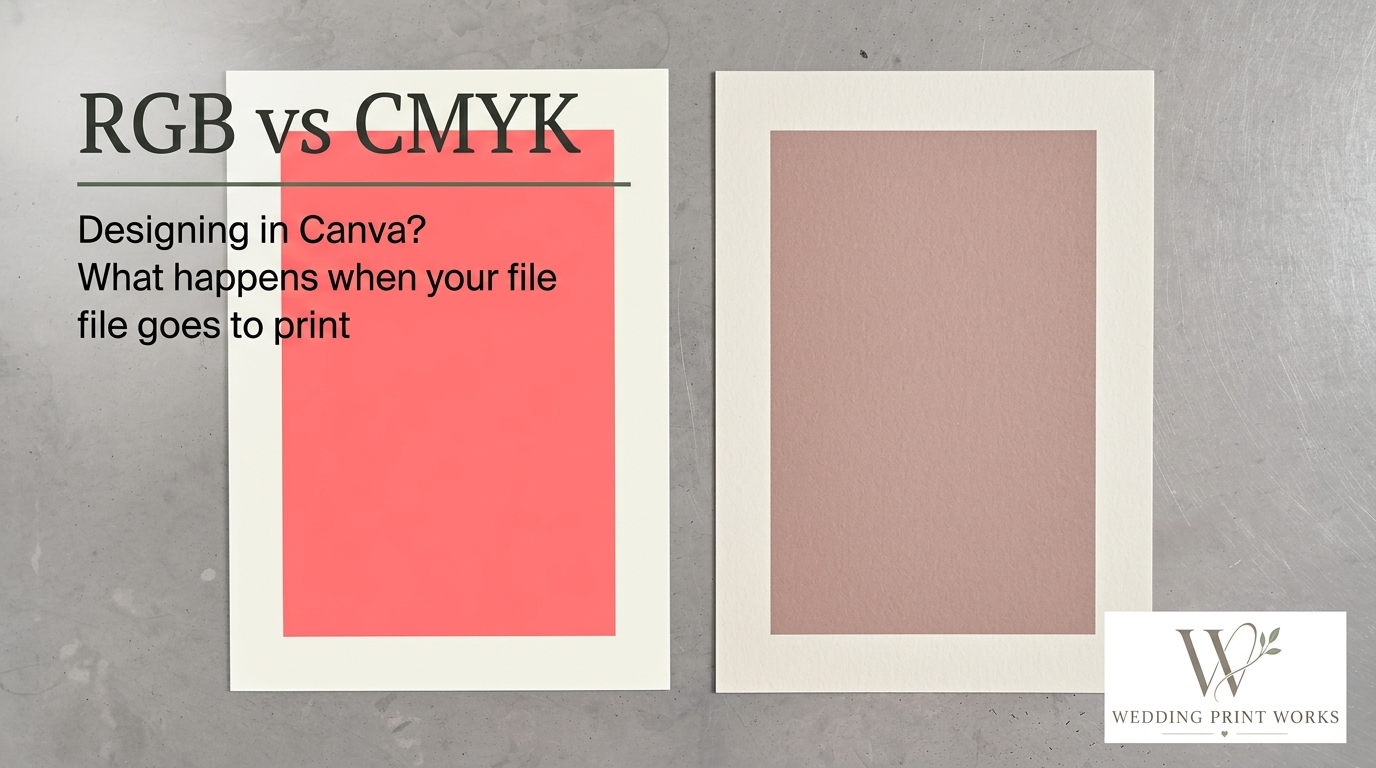
    RGB combines red, green and blue light to create colours on screens. CMYK uses cyan, magenta, yellow and black inks to reproduce colour on paper. Because a screen emits light while printed ink reflects it, the two systems cannot reproduce every colour in the same way.

    Some bright RGB colours, particularly vivid greens, blues and neons, sit outside the range that standard CMYK printing can reproduce. Converting them to a print colour space may make them appear less intense. The result also depends on the paper, ink and printing conditions, so changing a file to CMYK does not by itself guarantee a precise match to the screen.

    Preparing Canva artwork for print

    RGB vs CMYK: A Canva Designer’s Guide to Print-Ready Colour

    Before exporting, check the finished size, margins and any printer-specific file requirements. These details matter just as much as colour mode when you are preparing invitations, information cards or other coordinated stationery.

    Check the colour export options

    Canva’s available export settings can vary. When you download a PDF for print, check whether a CMYK colour profile is offered and follow the profile or file specification requested by your printer.

    If Canva does not offer the required setting, ask your print partner how they want the file supplied. Converting a PDF in other software can change colours and should not be treated as a guaranteed correction. If you do convert the file, inspect the result before sending it to production.

    Export a print-ready PDF

    PDF Print is generally the appropriate Canva export for printed stationery. Whether to include crop marks and bleed depends on the printer’s requirements, so check before selecting those options. Crop marks are not needed for every workflow, and a file with the wrong marks or page setup can cause confusion.

    Allow for bleed and keep important details clear of the trim

    Bleed is artwork that extends beyond the finished cut edge. It helps prevent an unprinted white sliver if the sheet shifts slightly during trimming. The amount required is set by the printer; 3 mm is common, but it is not a universal specification.

    Keep text, names, dates and other essential details comfortably inside the trim area. For shaped stationery, such as an arch or scalloped edge, confirm the finished dimensions and cutting requirements with your printer before laying out the design.

    How to improve colour consistency

    RGB vs CMYK: A Canva Designer’s Guide to Print-Ready Colour

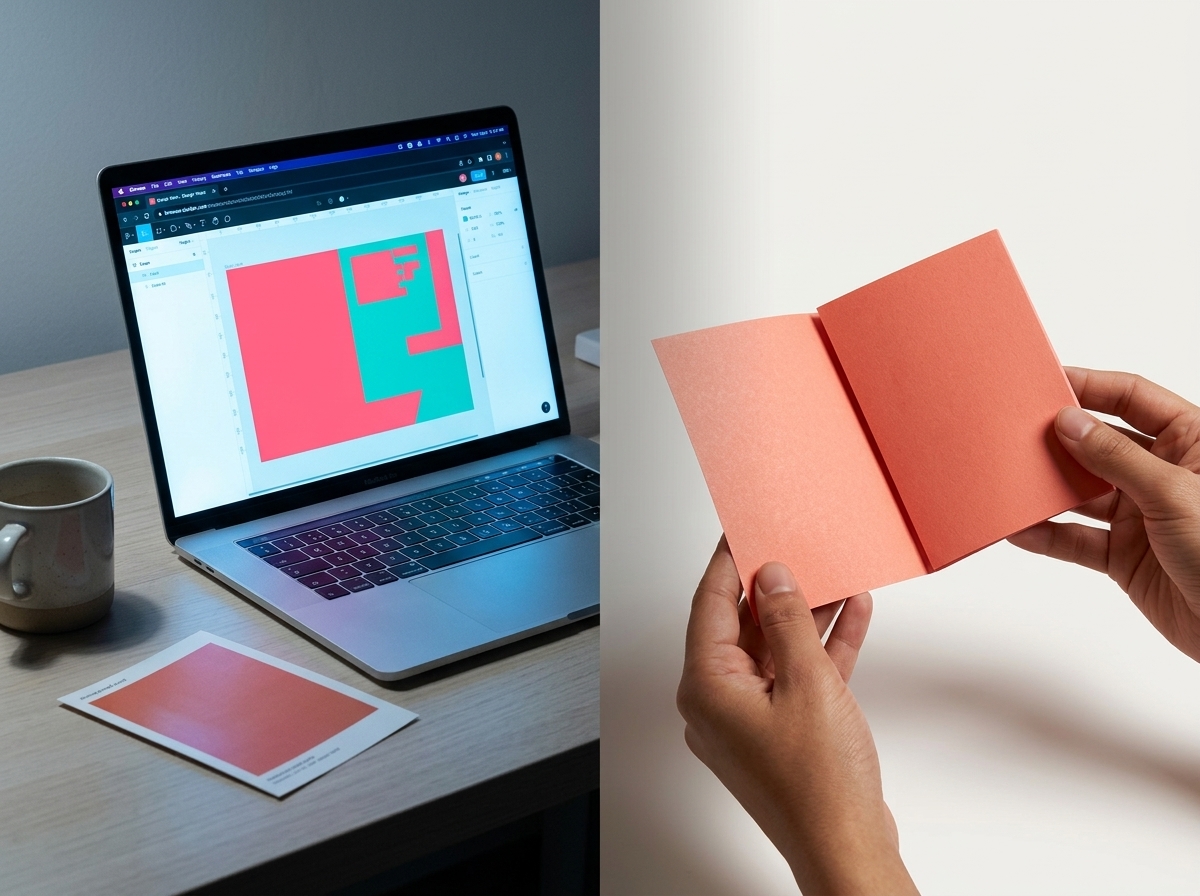
    A monitor preview is not a reliable proof of the final printed colour: screens vary in brightness and calibration, and the paper affects how ink appears. For colours that are central to a client’s design or brand, discuss the options with your printer before committing to a full run.

    • Use a printed proof or sample where appropriate. It gives you a more useful reference than a screen preview, although the final production result can still vary slightly.
    • Keep a record of approved artwork and specifications. This makes repeat orders easier to manage and compare.
    • Check the supplied PDF at actual size. Look for unexpected colour changes, missing elements, low-resolution images and text too close to the trim.
    • Tell your printer about colour-critical details. A reference image or description can help explain what matters, but it is not a substitute for an agreed print specification.

    Working with a trade printer

    A trade printer can advise on file preparation, colour settings and the practical requirements for producing your stationery. Ask what format and colour profile they accept, how they want bleed set up, and whether a proof is available for your job. This is especially useful when developing a new design or ordering a large quantity.

    Wedding Print Works is being developed as a production partner for wedding stationery designers and businesses. Trade wedding stationery printing can let you keep your own brand and client relationships while outsourcing physical production, leaving more time for design, marketing and customer service.

    Frequently asked questions

    What is the difference between RGB and CMYK?

    RGB creates colours with light for screens. CMYK uses four printing inks to reproduce colours on paper. The two systems have different colour ranges, so some screen colours cannot be matched exactly in print.

    How do I export a Canva design for printing?

    Download the artwork as a PDF Print and follow your printer’s instructions for colour profile, bleed and crop marks. Canva’s export options can vary, so check what is available in your account and confirm the required settings with your printer.

    Why do printed colours look different from my Canva design?

    A screen emits light, while printed ink reflects light from the paper. Screen settings, the printable colour range, paper choice and print conditions can all affect the result. A proof or sample can help you assess colour before a larger order.